Here's our first sack of the game:
14:23 1st QTR:

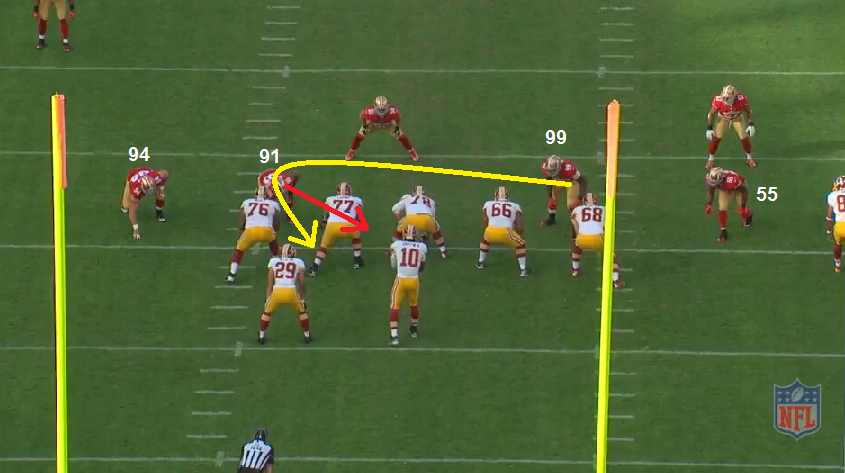
Here, we're going to run our base 3-4 defense against WA who's come out in 21 Personnel. This is a great example of how the pass rush helps the coverage. We're going to run a cover-1 man.

WA tries to run fake out of the read-option - doesn't work.

This is the route that would best beat the man-coverage. However, RGIII can't step up into the pocket to see the throw well.

The ball should be released by this point - but, the rush forced RGIII to move so he couldn't hit the throw. This is a timing throw and our pass rush adjusted the timing.

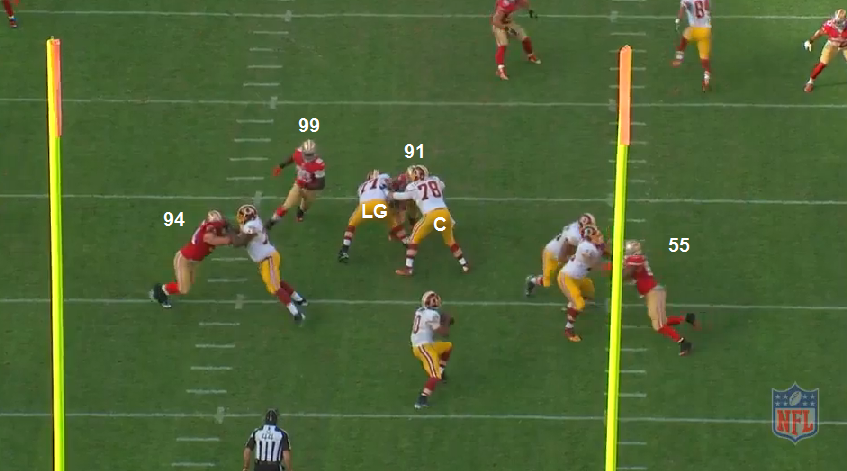
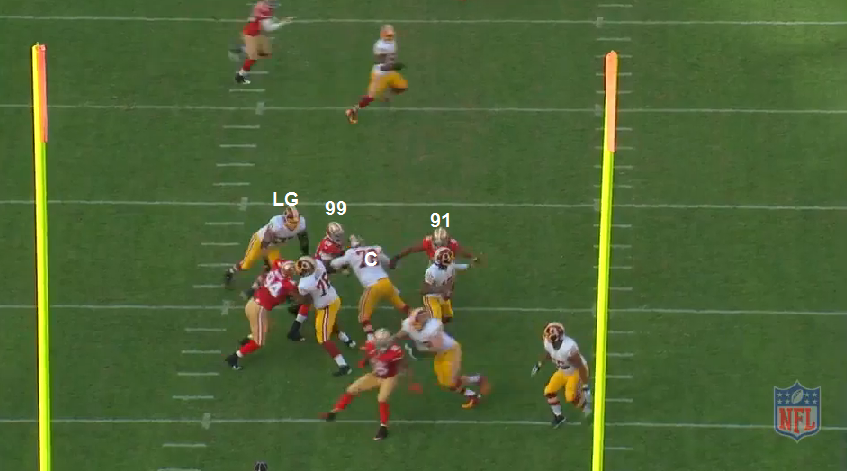
RayMac actually gets doubled on this play but bull rushes the guard back into RGIII. Brooks checks to make sure a RB isn't flaring out to his side and then comes on the rush.

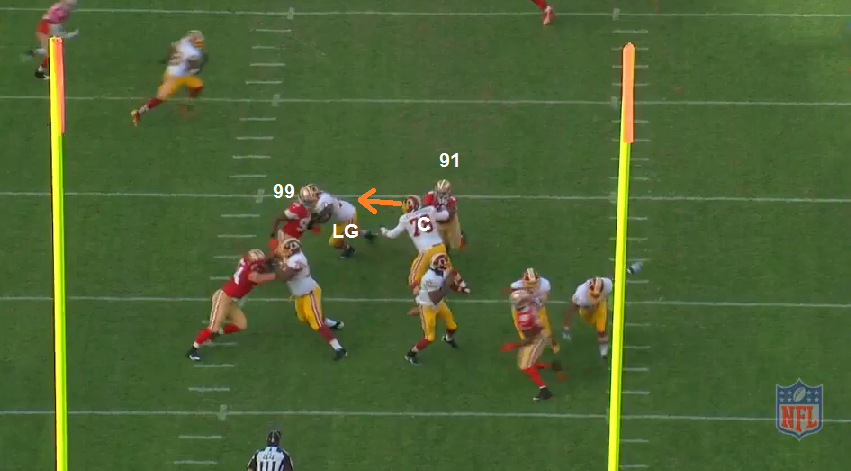
You can see here how RayMac pushed the guard right into RGIII's face. If he doesn't, it's an easy throw and catch to the man-beating hook route. But, since RGIII can't step up into that throw, he tries to step back and move on to another read.

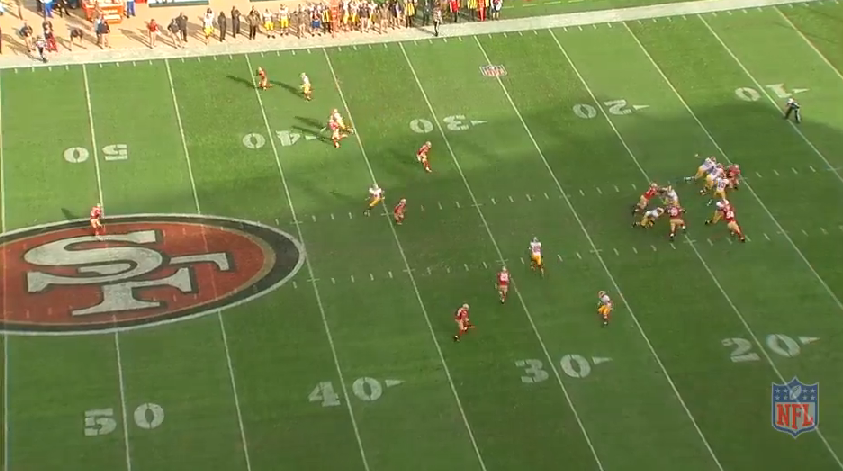
You see here how the receiver was open on the play.

Since RGIII steps back, he's right into Smith's rush lane and gets sacked.
This is an instance where the pass rush helps the coverage. Later, on the game-clinching sack, it's the coverage that helps the rush.
Thl - I tried to post your GIF to it of this play, but it told me the file size was too large.....

[ Edited by jonnydel on Nov 25, 2014 at 1:51 PM ]
 I think this formation is a very balanced formation between the 20's. I wish Vance was healthy, because we need the TE's in the redzone. If Vance isn't healthy in the Seadderall game, we'll have to use Bruce as the 2nd TE and possibly an O Lineman as the 3rd blocking TE. I hear Celek might be activated, that will go a long way to get the 3 Tight end set going.

 after the colin scramble, there was a good Slant pass to Boldin, and a good off tackle run to the left for gore. Both had big gains. Why did this combination play prior to the Anquan TD suck?